There’s something truly magical about a pizza crust that strikes the perfect balance between crisp and chewy-a foundational canvas that transforms simple ingredients into an artisan masterpiece. Behind every slice that delights the senses lies a blend of craft, science, and patience, where texture is king and technique reigns supreme. In this article, we unravel the secrets to crafting artisan pizza crusts that boast that coveted perfect texture, guiding you through time-honored tips and innovative tricks that elevate your homemade pizza from everyday to extraordinary. Whether you’re a passionate kitchen experimenter or a seasoned dough whisperer, prepare to unlock the alchemy that makes every bite irresistibly unforgettable.
Crafting Artisan Pizza Crust: Secrets to Perfect Texture
Crafting artisan pizza crust is an art that brings together precise ingredients and technique to create that ideal harmony of fluffy tenderness and satisfying crispiness. Whether you’re a seasoned home cook or a passionate food enthusiast, unlocking this balance elevates your pizza experience beyond ordinary – transforming it into a celebration of flavor, texture, and tradition.
Prep and Cook Time
- Preparation: 20 minutes
- Fermentation: 24 to 48 hours (cold fermentation recommended)
- Resting and Shaping: 1 to 2 hours
- Cooking Time: 8-12 minutes at high heat (450-500°F / 232-260°C)
Yield
Serves 2 medium-sized pizzas (12-inch diameter each)
Difficulty Level
Medium
Ingredients
- 3 ½ cups high-protein bread flour, sifted
- 1 ¼ cups cold water (around 50°F / 10°C)
- 2 tsp fine sea salt
- ½ tsp active dry yeast
- 1 tbsp extra virgin olive oil
- 1 tsp sugar (optional, enhances fermentation)
Instructions
- Mix the Dough: In a large bowl, combine bread flour, salt, and active dry yeast. Slowly pour in the cold water while stirring with a wooden spoon or dough whisk until a shaggy dough forms.
- Incorporate Olive Oil: Add the extra virgin olive oil and optionally sugar to the dough. Mix until fully integrated, continuing to fold the dough on itself.
- Knead to Develop Gluten: Turn the dough onto a floured surface. Knead for 8-10 minutes until smooth and elastic, springing back when pressed gently. This creates the framework for that airy yet crispy crust.
- Cold Fermentation: Place dough in a large oiled bowl, cover tightly with plastic wrap, and refrigerate for 24 to 48 hours. This slow fermentation unlocks complex, deep flavors while improving dough extensibility.
- Divide and Rest: Remove the dough and divide into two equal portions. Shape each into a tight ball, cover with a damp towel or plastic wrap, and let rest for 1-2 hours at room temperature to relax the gluten for easier stretching.
- Shaping and Stretching: Using your fingertips and knuckles, gently stretch each dough ball on a floured surface. Avoid pressing too hard; aim to preserve air bubbles that create light pockets within the crust. Stretch evenly to about 12 inches in diameter.
- Pre-Bake or Top and Bake: Optionally, preheat your pizza stone or baking steel at maximum oven temperature. Slide the stretched dough onto the hot surface and bake for 3-4 minutes before adding sauce and toppings to ensure a crisp bottom. Then add your favorite toppings and bake another 7-8 minutes until golden and bubbly.
Tips for Success: Elevate Your Dough Experience
- Flour Selection: Choose bread flour or Italian “00” flour for ideal protein content that shapes gluten strength and dough extensibility perfectly. Experimenting with a mix can also provide interesting texture contrasts.
- Hydration Matters: Keep dough hydration around 65-70%. Higher water content yields a more open crumb with larger bubbles but can be trickier to handle.
- Slow Fermentation: Patience is key. Cold fermentation dramatically enhances flavor complexity and crust structure by allowing enzymes to develop sugars and gluten slowly.
- Shaping Secrets: Use gravity and gentle finger pressure instead of rolling pins to maintain air pockets. Avoid flattening the edges where a defined crust rim forms.
- Oven Setup: Use a pizza stone or steel preheated for at least 45 minutes to mimic artisanal wood-fired ovens, ensuring crispy bottom crust without overcooking toppings.
- Make Ahead: Dough can ferment up to 72 hours in the fridge; just allow additional time to come back to room temperature before shaping.
Serving Suggestions
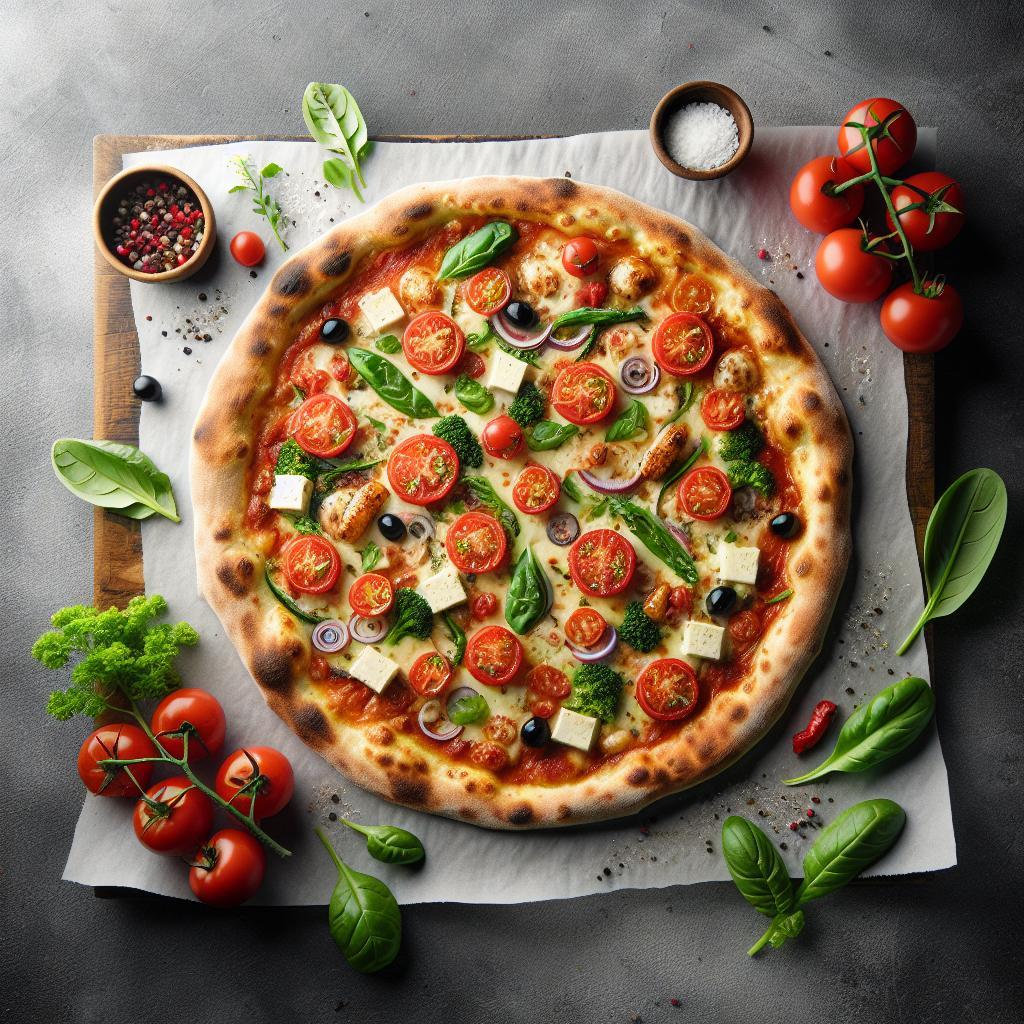
Present your artisan pizza crust topped with a classic San Marzano tomato sauce, fresh mozzarella slices, and a sprinkle of aromatic basil leaves. For extra flair, drizzle with an herbaceous olive oil or scatter chili flakes for a subtle kick. Serve sliced on a rustic wooden board alongside a crisp arugula salad dressed with lemon vinaigrette to complement the cracker-like crust texture and soft interior.

| Nutrient | Per Serving (1 Pizza) |
|---|---|
| Calories | 450 |
| Protein | 15g |
| Carbohydrates | 80g |
| Fat | 7g |
For an in-depth understanding of the science behind dough fermentation, visit King Arthur Baking’s Bread Science Guide. To explore more recipes utilizing artisan dough techniques, check out our Artisan Baking Recipes collection.
Q&A
Q&A: Crafting Artisan Pizza Crust: Secrets to Perfect Texture
Q1: What makes an artisan pizza crust different from a regular pizza crust?
A: Artisan pizza crust is all about quality ingredients, traditional techniques, and a patient, loving approach. Unlike mass-produced crusts, it emphasizes a balance of chewy, crispy, and airy textures, achieved by longer fermentation times and hand-stretching the dough rather than machine rolling. It’s the crust that tells a story of craftsmanship in every bite.
Q2: Why is flour choice important in making an artisan crust?
A: Flour is the foundation. High-protein bread flour or “00” Italian flour gives the dough strength and elasticity, enabling that perfect chew and rise. Lower-protein flours often result in denser, less airy crusts. The right flour creates gluten structures that trap gases during fermentation, leading to those coveted bubbles and light texture.
Q3: How does hydration affect pizza dough texture?
A: Hydration is the amount of water relative to flour in your dough. Higher hydration doughs (think 70% or more) produce a wetter, stickier dough that yields a more open crumb with airy pockets and a tender bite. It can be tricky to handle but with practice, it creates that rustic, artisan texture many crave.
Q4: What role does fermentation play in crafting the perfect crust?
A: Fermentation is the secret behind flavor and texture. Giving your dough time-anywhere from 24 to 72 hours at cool temperatures-allows natural yeasts and bacteria to develop complex flavors and a light, bubbly structure. Slow fermentation also breaks down proteins and starches, improving digestibility and that irresistible chew.
Q5: Why is hand-stretching preferred over rolling the dough?
A: Hand-stretching respects the dough’s delicate gluten network, preserving the air bubbles formed during fermentation. Rolling can crush these pockets, resulting in a denser crust. Gentle hands coax the dough into a thin, even canvas ready for toppings, maintaining its lightness and rustic charm.
Q6: Does baking temperature affect crust texture?
A: Absolutely! Traditional artisan pizza thrives in high heat-ideally 500°F (260°C) and above. High temperatures create rapid steam in the dough, giving you a blistered, crispy exterior with a soft, airy inside. A pizza stone or steel helps mimic wood-fired ovens by evenly distributing heat and absorbing moisture from the dough’s surface.
Q7: Can hydration and fermentation be adjusted for different crust styles?
A: Yes! For a crispier, more cracker-like crust, lower hydration and shorter fermentation are your friends. Want a chewier, fluffier crust? Increase hydration and slow fermentation. Experimenting with these variables lets you craft a texture perfectly suited to your taste and pizza style.
Q8: Any secret tips for home bakers aiming to master artisan pizza crust?
A: Patience is power. Respect your fermentation times and dough handling. Use quality ingredients-flour, water, salt, yeast-and treat your dough like a living thing. Preheat your oven thoroughly and consider investing in a pizza stone for superior heat. Most importantly, practice! Each pie teaches you more about the art of the perfect crust.
Crafting artisan pizza crust is part science, part art, and all about love for the process. With these secrets unlocked, your homemade pizzas will transcend the ordinary and enter the realm of the extraordinary. Happy baking!
The Way Forward
Mastering the art of crafting artisan pizza crust is more than just a recipe-it’s a journey into the heart of tradition, technique, and a touch of patience. From the gentle stretch of well-hydrated dough to the careful balance of fermentation time, every step shapes the perfect texture that crisps and chews in harmony. Whether you’re a seasoned home baker or a curious novice, embracing these secrets transforms your pizza from ordinary to extraordinary, one bite at a time. So, roll up your sleeves, savor the process, and let your oven become the gateway to crust perfection-because great pizza starts from the very bottom.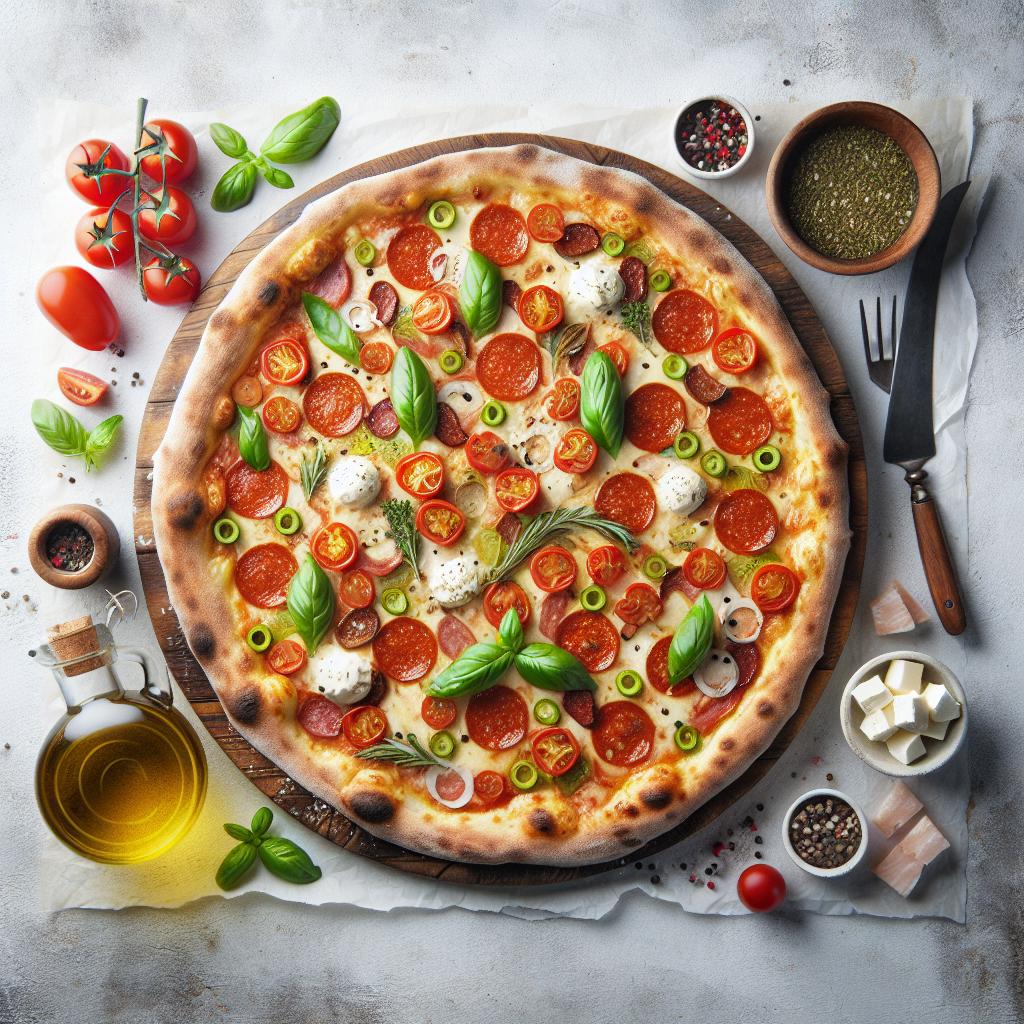


