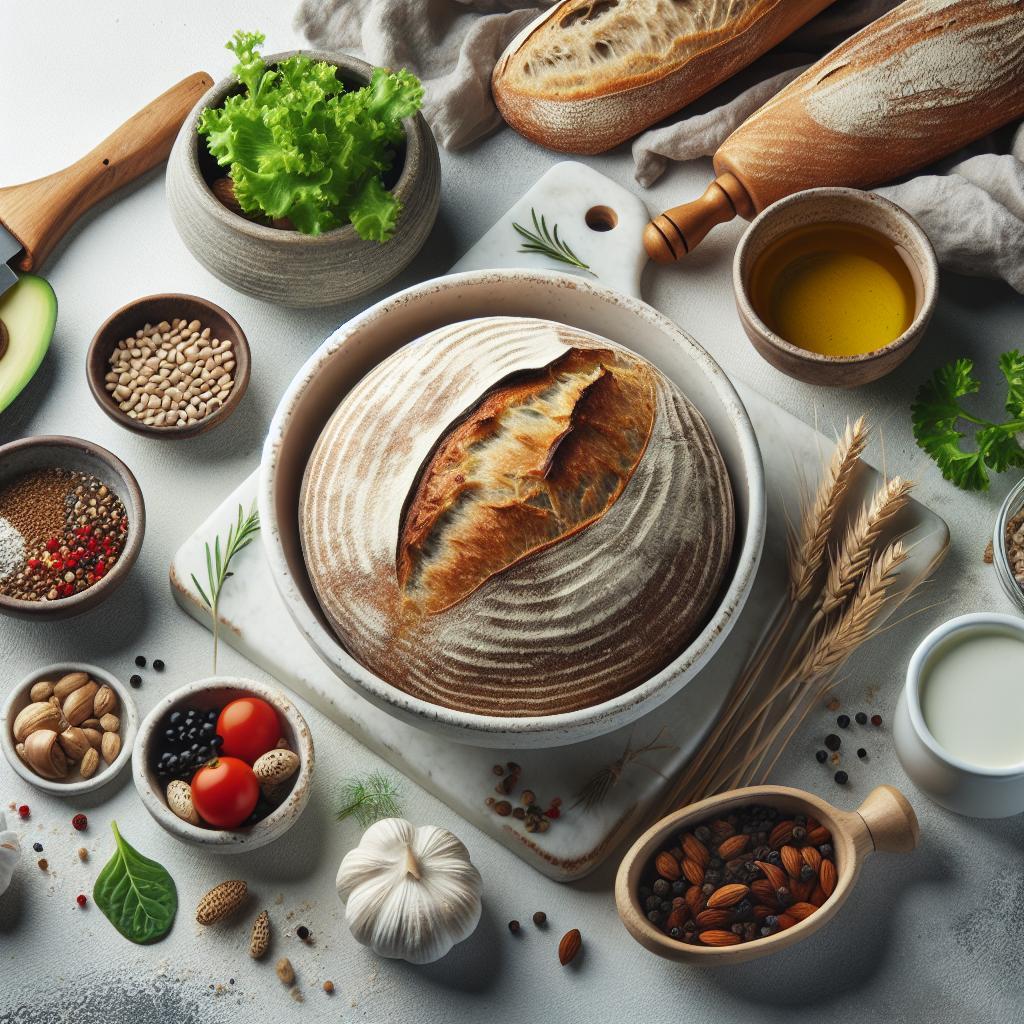
There’s something magical about nurturing a living culture from just flour and water-watching it bubble, grow, and transform into the heart of your homemade bread. Crafting your first sourdough starter is more than a simple kitchen experiment; it’s the beginning of a delicious journey that connects you to centuries of baking tradition. Whether you’re a curious novice or a passionate home baker eager to explore new flavors, this beginner’s guide will walk you through the art and science of creating a thriving sourdough starter from scratch. Get ready to embrace patience, practice, and the natural rhythms of fermentation as you unlock the secrets to crusty, tangy loaves that taste like no other.
- Prep and Cook Time
- Yield
- Difficulty Level
- Ingredients
- Instructions
- Creating the Perfect Environment for Your Sourdough Starter to Thrive
- Troubleshooting Common Starter Problems and Knowing When It’s Ready
- Tips for Maintaining and Feeding Your Starter for Long-Term Success
- Chef’s Notes
- Serving Suggestions
- Q&A
- To Wrap It Up
Crafting Your First Homemade Sourdough Starter: A Beginner’s Guide
Crafting your first homemade sourdough starter invites you into a world where simple ingredients transform through nature’s magic. Flour and water unite, creating a bubbling culture teeming with wild yeast and friendly bacteria, essential for that tangy, aromatic bread we all cherish. From selecting the ideal flour and pure water to nurturing an inviting environment, this guide empowers you to journey confidently from novice to confident sourdough baker.
Prep and Cook Time
Preparation: 10 minutes daily (over 5-7 days)
Active Fermentation: 5-7 days
Yield
Approximately 1 to 1 ½ cups of active sourdough starter
Difficulty Level
Easy to Medium – perfect for beginners with a little patience
Ingredients
- 1 cup (120g) whole wheat flour, unbleached and preferably organic
- 1 cup (120g) unbleached all-purpose flour, sifted
- ¾ cup (180ml) filtered or spring water, room temperature (around 75°F/24°C)
Instructions
- Day 1: In a clean glass jar, combine ½ cup whole wheat flour and ½ cup filtered water. Stir vigorously until smooth and no dry flour remains. The consistency should resemble thick pancake batter.
- Cover the jar loosely with a breathable cloth or lid to allow airflow while keeping out contaminants. Place the jar in a warm spot, ideally between 70-75°F (21-24°C), such as inside an unheated oven with the light on.
- Day 2: Bubbles may start to appear; this indicates your starter is coming alive. Discard half of the starter, then feed with ¼ cup whole wheat flour, ¼ cup all-purpose flour, and ½ cup water. Mix thoroughly.
- Days 3-7: Repeat the discard and feeding process each morning and evening, observing that your starter grows in size, doubles, and develops a pleasant sour smell – a sign of healthy fermentation.
- Once the starter consistently doubles in volume within 6 to 8 hours of feeding and is bubbly with a mildly tangy aroma, it’s ready to bake with.
Creating the Perfect Environment for Your Sourdough Starter to Thrive
Oxygen and warmth are the starter’s silent partners. Use a jar with wide-mouth access to encourage circulation and let ambient yeasts mingle freely. Avoid sealed containers early on to prevent pressure buildup. Maintaining a cozy, draft-free area around 70-75°F provides the ideal microbial playground for fermentation. If temperatures dip, proof your starter near a radiator or inside a turned-off oven with the oven light on.
Troubleshooting Common Starter Problems and Knowing When It’s Ready
Sticky black or pink mold spots require immediate discard and a fresh start. If the aroma turns sharply foul-like rotten cheese-your starter may be stressed; try feeding more frequently or adjusting hydration. A layer of liquid “hooch” signals hunger; simply stir it back in and feed to revive vigor. When your starter doubles reliably within hours post-feeding, adorned with bubbles, and a refreshing tangy scent, you’ve crafted a robust culture ready to become your bread’s essential soul.
Tips for Maintaining and Feeding Your Starter for Long-Term Success
Always use room temperature filtered water to avoid chlorine, which can inhibit yeast activity. Feed your starter with a consistent flour blend; all-purpose and whole wheat create a balanced diet for wild yeasts and bacteria. When not baking daily, store your starter in the refrigerator and feed weekly to maintain vitality. Before baking, bring it back to room temperature and feed to reactivate fermentation. Transparent containers help you witness the delightful bubbles and growth – an encouraging visual cue that your starter is thriving.
Chef’s Notes
- Flour Varieties: Whole rye flour can be mixed in small amounts during feeding to boost microbial activity thanks to its rich nutrients.
- Water Quality: Avoid distilled or chlorinated water; filtered or spring waters with natural minerals support yeast health.
- Adjusting Hydration: To make a thicker starter, reduce water slightly; thinner starters ferment faster but require attentive monitoring.
Serving Suggestions
Once your starter is lively and active, feed it prior to baking your favorite bread or unleavened creations like crisp crackers and fluffy pancakes. Keep a portion for sourdough discard recipes – think rustic flatbreads with a hint of tang, or fermented batters bursting with flavor. Garnish freshly baked sourdough with a sprinkle of coarse sea salt or a brush of aromatic herb oil to elevate every loaf to gourmet allure.

| Nutrient | Per 2 tbsp Starter |
|---|---|
| Calories | 30 kcal |
| Protein | 1 g |
| Carbohydrates | 6 g |
| Fat | 0 g |
Expand your sourdough journey with our detailed perfect sourdough bread techniques and deepen your knowledge at King Arthur Baking’s Sourdough Guide.
Q&A
Q&A: Crafting Your First Homemade Sourdough Starter: A Beginner’s Guide
Q1: What exactly is a sourdough starter?
A1: A sourdough starter is a living culture of wild yeast and beneficial bacteria that naturally ferments flour and water. This symbiotic mixture acts as a natural leavening agent, giving sourdough bread its signature tangy flavor and airy texture-no commercial yeast required!
Q2: Why should I make my own sourdough starter from scratch?
A2: Creating your own starter connects you to a centuries-old tradition, making your bread not only unique to your kitchen but also bursting with complex flavors and wonderful textures that store-bought yeast can’t match. Plus, it’s a fun and rewarding process that turns simple ingredients into culinary magic.
Q3: What basic ingredients do I need to create a sourdough starter?
A3: All you need are two humble ingredients: flour (preferably unbleached all-purpose or whole grain like rye or whole wheat) and filtered water. The natural yeasts in the flour and environment will do the rest!
Q4: How do I begin the nurturing process for my starter?
A4: Combine equal parts flour and water in a clean jar, stir until smooth, then cover loosely. Every 24 hours, discard half and feed with fresh flour and water to feed the wild yeasts, allowing them to multiply and develop bubbles that indicate activity.
Q5: What signs should I look for to know my starter is healthy and ready?
A5: Within about 5 to 7 days, your starter should thicken and double in size within hours of feeding. You’ll see bubbles all throughout the mixture, and it will have a pleasantly tangy aroma-think fresh yogurt or mild vinegar.
Q6: Can I use any type of flour, or does it have to be a specific kind?
A6: Whole grain flours like rye or whole wheat kickstart fermentation faster due to richer nutrients, but all-purpose flour works perfectly for maintaining a starter once active. Experimenting with different flours can add unique taste nuances.
Q7: What is the best temperature for my starter to thrive?
A7: Room temperature around 70-75°F (21-24°C) is ideal. If it’s too cold, fermentation slows down; too warm and activity might become too vigorous or spoiled. Find a cozy spot in your kitchen away from direct sunlight.
Q8: How often do I need to feed my starter, and what if I take a break?
A8: When kept at room temperature, feed daily. If you need a break, refrigerate your starter and feed it weekly-this slows down the fermentation, preserving your starter without requiring constant attention.
Q9: What should I do if my starter develops an odd smell or discoloration?
A9: A healthy starter usually smells pleasantly sour. If it develops a pink or orange tint or an unpleasant rotten odor, that’s a sign of contamination-best to discard and start fresh. Sometimes a liquid called “hooch” forms on top; it’s harmless and can just be stirred back in or poured off.
Q10: How do I know when my sourdough starter is ready to bake with?
A10: After feeding, your starter should double in volume within 4 to 6 hours and be bubbly and airy. A simple “float test” can help: drop a spoonful into water-if it floats, it’s airy and ready to leaven your dough!
Embarking on your sourdough journey is more than just baking; it’s cultivating a tiny ecosystem thriving on simple ingredients and patience. Welcome to the tasty adventure of homemade sourdough!
To Wrap It Up
Embarking on the journey of crafting your first homemade sourdough starter is more than just a baking project-it’s an invitation to reconnect with time-honored traditions and the simple magic of fermentation. With patience, care, and a sprinkle of curiosity, you’ll nurture a living culture that not only breathes life into your bread but also fills your kitchen with the warm, tangy aroma of accomplishment. So roll up your sleeves, embrace the beautiful unpredictability of this natural process, and get ready to transform basic ingredients into a delicious, crusty masterpiece. Your homemade sourdough adventure starts now-happy baking!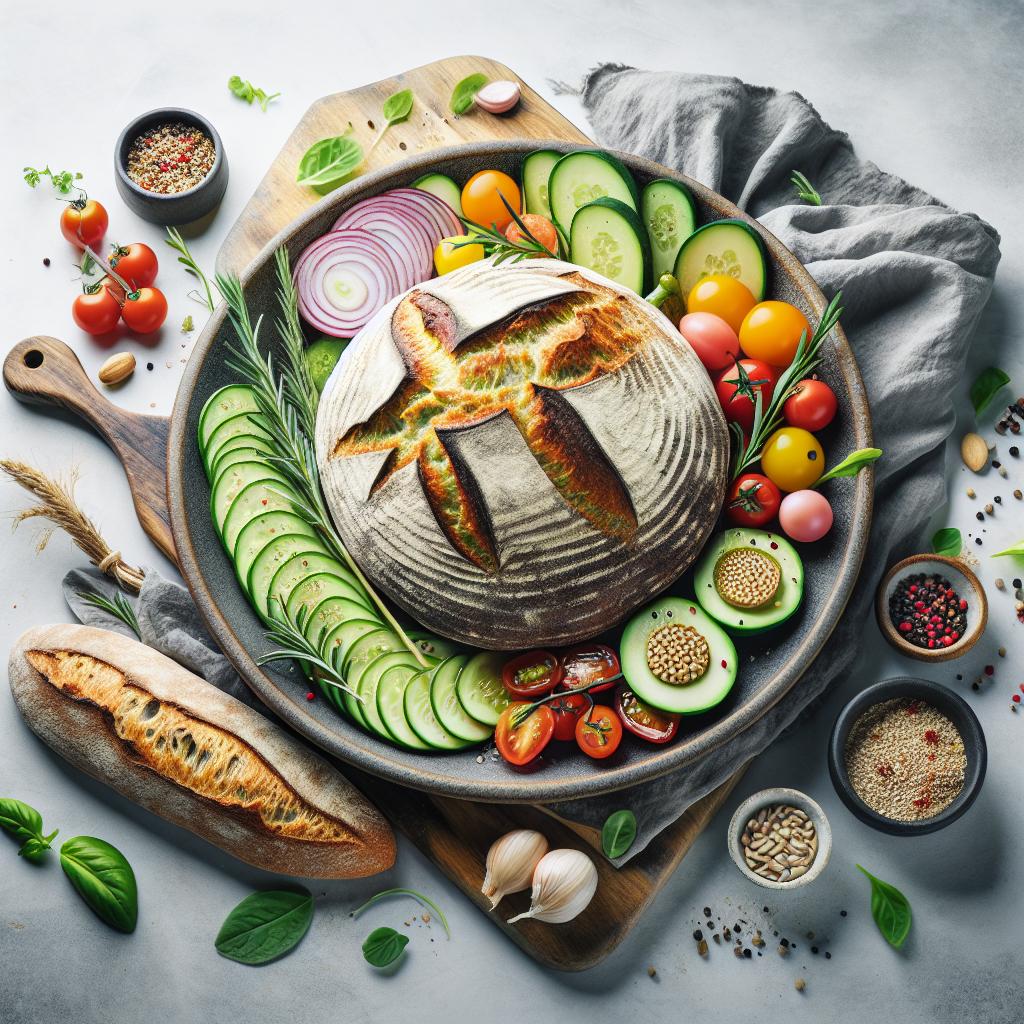


