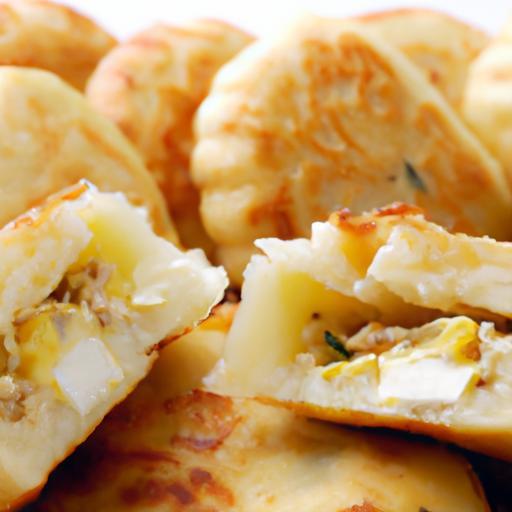
Picture this: you’ve just taken a glorious bite of a warm, golden-hot hotteok-the sweet, syrupy filling oozing with every chew, promising a perfect snack. But wait… where did all that luscious filling go? If you’ve ever been left puzzled and a little disappointed as your hotteok’s treasure escapes its crispy shell, you’re not alone. The mysterious art of keeping that delicious filling snugly inside can feel like a culinary puzzle. In this article, we dive into the common reasons why your hotteok filling might be leaking out and share essential tips to help you master the perfect seal-ensuring every bite bursts with flavor exactly where it belongs. Let’s unlock the secrets behind a flawlessly filled hotteok!
Understanding Dough Science to Prevent Filling Leakage
Why Is My Hotteok Filling Leaking? Tips to Keep It Inside starts with grasping the crucial role dough consistency plays in safeguarding the sweet, sticky filling from oozing out during cooking. Hotteok, a beloved Korean street snack, thrives on its signature molten center sealed within a golden, chewy exterior. Achieving the ideal dough texture is akin to crafting a tender yet resilient armor that embraces the filling without cracking under heat.
A soft but elastic dough, enriched with the right hydration and gluten development, creates a pliable canvas for shaping. Too wet, and it becomes fragile-susceptible to bursting; too dry, it loses stretch, causing the seals to break. Incorporating just enough kneading time encourages gluten strands to form a stretchy network, vital for sealing in the filling securely.
Prep and Cook Time
- Preparation: 30 minutes (including dough rest)
- Cooking: 15 minutes
Yield
Makes approximately 10 hotteok pancakes
Difficulty Level
Medium – requires attention to dough handling and folding technique
Ingredients
- For the Dough:
- 2 cups all-purpose flour, sifted
- 1 teaspoon instant yeast
- 1 tablespoon sugar
- 1/2 teaspoon salt
- 3/4 cup warm water (110°F/43°C)
- 2 tablespoons vegetable oil
- For the Filling:
- 1/2 cup brown sugar, packed
- 1/4 cup chopped walnuts or peanuts
- 1 teaspoon ground cinnamon
- 2 tablespoons melted butter
Instructions
- Make the dough: In a mixing bowl, combine the flour, sugar, salt, and instant yeast. Gradually add warm water and oil. Mix until a shaggy dough forms.
- Knead: Turn dough onto a floured surface. Knead for about 8-10 minutes until smooth and elastic. This gluten development is key for stretch and sealing.
- First rise: Place dough in an oiled bowl, cover with plastic wrap, and let it rise in a warm spot until doubled in size, about 45 minutes.
- Prepare filling: In a small bowl, mix brown sugar, chopped nuts, cinnamon, and melted butter. The butter coats the filling to keep it moist but cohesive, preventing leaks.
- Portion dough: Punch down risen dough gently. Divide into 10 equal balls, rolling smooth.
- Fill and shape: Flatten each dough ball into a disk about 3 inches wide. Place a tablespoon of filling in the center. Gently pinch the edges up and around the filling, folding fully to seal. Pinch seams tightly-no gaps or air pockets.
- Flatten filled dough: With sealed side down, gently press and flatten each ball into a thick pancake about 1/2-inch thick without breaking the dough.
- Cook hotteok: Heat a non-stick skillet over medium heat. Add a tablespoon of oil. Cook pancakes 2-3 minutes per side, pressing gently with a spatula until golden brown and cooked through. Reduce heat if browning too fast to avoid bursting.
Tips for Success: Maintain Filling Containment
- Perfect dough consistency: Achieve a slightly tacky but firm dough that stretches. Add flour sparingly to avoid dryness.
- Seal with care: Use your fingertips to evenly pinch and crimp dough edges together. Avoid overfilling, which weakens the seal.
- Gentle flattening: Press pancakes lightly to avoid cracking the dough surface.
- Moderate heat: Control skillet temperature. Too hot causes rapid expansion and bursting of filling pockets.
- Rest dough: Let dough rest between postings to relax gluten and improve elasticity for better seals.
- Alternative technique: For extra security, lightly brush dough edges with water or a beaten egg before sealing to “glue” dough together.
Serving Suggestions
Serve piping hot to savor the molten filling at its peak. Garnish with a dusting of powdered sugar or a sprinkle of toasted sesame seeds for contrast. Pair with a warm cup of Korean barley tea or a lightly sweetened green tea for an authentic street-food experience. Enjoy them fresh from the skillet or wrap leftovers in foil and gently reheat in a low oven to re-soften the dough and energize the filling’s luscious flavor.
| Nutrient | Per Serving (1 hotteok) |
|---|---|
| Calories | 180 kcal |
| Protein | 3 g |
| Carbohydrates | 32 g |
| Fat | 5 g |
For more Korean desserts, check out our complete Korean desserts guide. To dive deeper into the science of gluten and dough elasticity, visit ScienceDirect’s gluten research.

Q&A
Q&A: Why Is My Hotteok Filling Leaking? Tips to Keep It Inside
Q1: What causes the filling to leak out of my hotteok during cooking?
A1: The main culprit is often the dough’s seal. If the edges aren’t pinched or sealed tightly enough, the sugary filling can bubble up and escape during frying. Additionally, if the dough is too thin or has tiny holes, the syrupy filling will find its way out. Overfilling can also cause the dough to burst open as it expands with heat.
Q2: How can I prevent the filling from leaking while frying?
A2: Start by making sure to properly seal the dough edges-pinch them together firmly to create a tight pocket. Avoid rolling the dough too thin near the seams. Use just the right amount of filling; a small mound is perfect to ensure there’s enough dough to contain it. Also, let the dough rest after shaping to relax the gluten, which helps maintain its integrity during cooking.
Q3: Does the type of filling affect leakage?
A3: Yes! Wet or runny fillings are more prone to leaking. Traditional hotteok fillings are often sugary and sticky but not overly liquidy. If you’re experimenting with juicy fruits or syrupy jams, consider thickening the mixture beforehand or adding a binding agent like a bit of cornstarch to reduce leakage.
Q4: Can cooking temperature cause my hotteok filling to escape?
A4: Absolutely. If the oil is too hot, the dough exterior might brown and harden quickly while the inside expands rapidly, causing cracks and split seams. Cooking at a moderate heat allows the dough to set evenly without bursting, keeping the filling safely enclosed.
Q5: Any tips to patch a leaking hotteok mid-cook?
A5: If you spot a leak early on, quickly press the dough edge back together with a spatula or your fingers (be careful of the hot oil!). Lower the heat slightly to prevent further expansion and bursting. In future batches, focus on perfecting the seal before frying.
Q6: Could dough recipe adjustments help keep the filling inside?
A6: Definitely! A slightly thicker or more elastic dough can hold fillings better. Increasing the flour slightly or adding a touch of vital wheat gluten can boost elasticity. Also, avoid overhydrating your dough; a firmer texture is less prone to tearing.
By mastering your hotteok dough and handling, you’ll soon enjoy perfectly filled, syrupy pockets of delight-no more messy leaks, just sweet satisfaction!
In Summary
In the delightful world of hotteok, that sweet, molten filling is the very heart of the experience-so keeping it snug inside is key to enjoying every gooey bite. By understanding why your filling leaks, from dough thickness to cooking temperature, you’re now equipped with the secrets to perfect, mess-free hotteok. Whether you’re a seasoned pro or a curious newbie, these tips will help you master the art of sealing in sweetness, so each pancake bursts with the rich center you crave. Happy cooking-and may your hotteok always ooze flavor, not frustration!


