There’s something undeniably magical about the perfect balance of tart and sweet-an electrifying burst of flavor that dances on your taste buds and leaves you craving more. Enter the world of Key lime pie, a beloved classic that captures the essence of sunny Florida in every bite. But what if you could enjoy this zesty bliss in a more playful, bite-sized form? Welcome to the delightful realm of Key Lime Pie Squares, where simplicity meets sophistication in an easy-to-make dessert that’s as vibrant as it is versatile. Whether you’re a seasoned baker or a curious kitchen novice, this guide will walk you through crafting these luscious, tangy squares that promise to brighten any table with their refreshing charm. Get ready to embrace a slice of sunshine-no fork required!
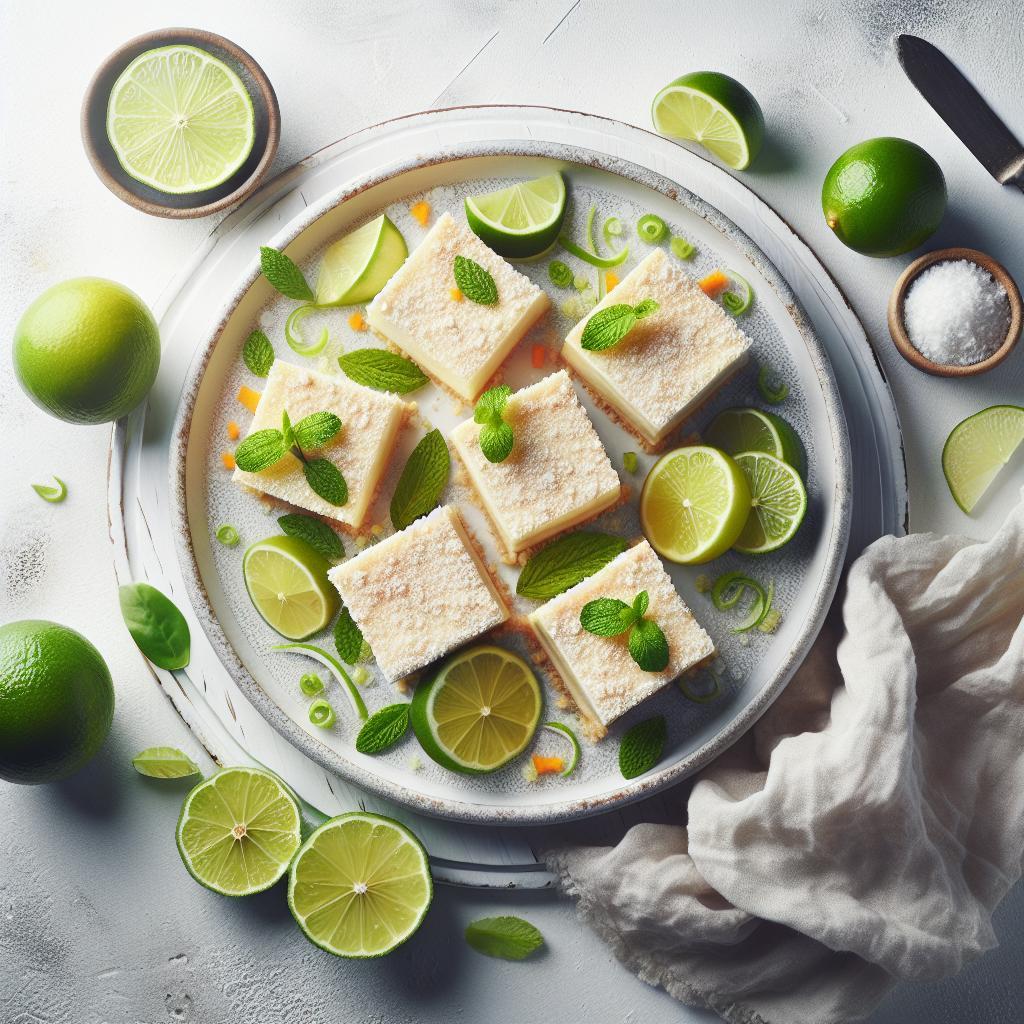
Zesty Bliss: How to Make Simple Key Lime Pie Squares
Zesty Bliss begins with a harmonious blend of tang and sweetness that transforms ordinary dessert moments into unforgettable bites of sunshine. This simple Key Lime Pie Squares recipe celebrates the iconic citrus jewel of Florida in a creamy, luscious filling paired with a perfectly flaky crust that melts in your mouth. Whether you’re craving a refreshing treat on a warm afternoon or aiming to impress guests with an elegant yet effortless dessert, these squares deliver bright, zesty flavors balanced with silky sweetness in every forkful.
Prep and Cook Time
- Preparation: 20 minutes
- Chilling: 2 hours
- Total Time: Approximately 2 hours 20 minutes
Yield
About 16 generous Key Lime Pie Squares (4×4-inch pan)
Difficulty Level
Easy – Perfect for bakers of all experience levels
Ingredients
- For the Crust:
- 1 ½ cups all-purpose flour, sifted
- ½ cup unsalted butter, chilled and diced
- ¼ cup powdered sugar
- ¼ tsp salt
- For the Key Lime Filling:
- 1 can (14 oz) sweetened condensed milk
- 4 large egg yolks, at room temperature
- ½ cup fresh Key lime juice (or fresh lime juice if unavailable)
- 1 tbsp lime zest finely grated
- ¼ tsp sea salt
- 1 tsp pure vanilla extract
- Garnish (optional):
- Whipped cream
- Thin lime slices or zest curls
- Fresh mint leaves
Step by Step Guide to Crafting the Creamiest Key Lime Filling
- Prepare the crust: Combine the sifted flour, powdered sugar, and salt in a large bowl. Using a pastry cutter or your fingertips, blend in the chilled butter until the mixture resembles coarse crumbs. Press firmly into a greased 9×9-inch baking pan, creating an even layer.
- Bake the crust: Place the crust in a preheated oven at 350°F (175°C) for 15 to 18 minutes or until edges are lightly golden. Let it cool while you prepare the filling.
- Whisk the filling: In a separate bowl, vigorously whisk the egg yolks until they thicken and lighten slightly. Gradually add the sweetened condensed milk, stirring continuously to prevent curdling.
- Add zest and juice: Fold in the fresh Key lime juice, lime zest, sea salt, and vanilla extract. Whisk until the filling is luxuriously smooth and glossy. Avoid overmixing to keep the texture silky.
- Pour and bake: Carefully pour the filling over the cooled crust. Bake at 325°F (160°C) for 15 minutes or until the filling is just set but still jiggles slightly in the center-this ensures maximum creaminess.
- Chill thoroughly: Remove from oven and let cool to room temperature before transferring to the refrigerator. Chill for at least 2 hours to allow flavors to meld and the filling to firm up beautifully.
Tips for Achieving a Flaky, Buttery Crust Every Time
- Keep everything cold: Use chilled butter and cold utensils to prevent excess melting, which leads to a tender, flaky crust.
- Don’t overwork the dough: Blend ingredients until just combined to maintain the delicate crumb structure.
- Press firmly but gently: Use the bottom of a measuring cup to evenly pack the crust for an even bake.
- Blind bake lightly: Partial baking before adding filling prevents sogginess, locking in the buttery flakiness.
Creative Serving Ideas to Elevate Your Key Lime Pie Squares
- Lemon or lime whipped cream: Toss a hint of citrus zest into your whipped cream for extra zing and pair atop each square.
- Fresh berry medley: Add raspberries or blueberries alongside your squares on the serving plate for vivid color contrast and juicy sweetness.
- Elegant glassware presentation: Cut the squares into smaller bites and serve layered with alternating whipped cream and lime curd in mini dessert cups.
- Garnish with edible flowers or candied lime wheels: These bright, decorative touches not only lend sophistication but also enhance the thematic freshness.
- Serve with chilled herbal tea or sparkling citrus mocktails: These refreshing drink pairings underscore the lively zestiness of the dessert.
Chef’s Notes: Tips for Success
- For the truest zesty bliss, always prioritize fresh Key lime juice and zest-bottled juice can lack brightness.
- If eggs are a concern, pasteurized eggs or egg substitutes designed for baking maintain safety while preserving the creamy texture.
- Store leftovers covered in the fridge for up to 3 days; the texture and flavor deepen overnight.
- To make ahead: prepare crust and filling separately; bake crust and store cooled, then prepare filling fresh and bake just before serving.
- Experiment with crusts: try a graham cracker crust substitution for a more decadent, crumbly crunch.
| Nutrient | Per Square (approx.) |
|---|---|
| Calories | 230 kcal |
| Protein | 3 g |
| Carbohydrates | 28 g |
| Fat | 11 g |
For further inspiration on citrus-based desserts that pair beautifully with this recipe, see our guide on Bright and Fresh Citrus Treats. Learn more about the fascinating culinary history of the Key lime on National Geographic.

Q&A
Q: What makes Key Lime Pie Squares stand out from a traditional key lime pie?
A: Unlike the classic pie, Key Lime Pie Squares are delightfully portable and perfectly portioned for sharing. Their buttery crust forms a crisp, crumbly base that contrasts beautifully with the smooth, tangy key lime filling, all topped with a playful swirl of whipped cream or meringue – a symphony of textures in every bite!
Q: What are the essential ingredients for crafting these zesty squares?
A: The magic begins with fresh key lime juice for that unmistakable tartness, sweetened condensed milk for creamy sweetness, and egg yolks to create a luscious filling. The crust is a simple blend of buttery graham cracker crumbs and just a hint of sugar, providing the perfect crunchy foundation.
Q: How can I ensure my Key Lime Pie Squares have the perfect balance of tart and sweet?
A: The secret lies in measuring your key lime juice carefully and tasting the filling before baking. Start with the recommended amount, and if you prefer a punchier zest, add a touch more juice or zest. The sweet condensed milk balances the acidity, so finding that happy medium is all about personal preference!
Q: Can I make these squares ahead of time?
A: Absolutely! Key Lime Pie Squares shine even brighter after chilling. Once baked and cooled, pop them in the fridge for at least two hours – or overnight – to let the flavors meld and the filling firm up. They’re perfect for parties, picnics, or anytime you crave a slice of summertime bliss.
Q: Are there any creative toppings that complement these squares?
A: Beyond the classic whipped cream, consider a sprinkle of toasted coconut, a dusting of finely grated lime zest, or even a handful of fresh berries for a burst of color and flavor. Each addition brings a new dimension to the pie squares, turning a simple dessert into a vibrant treat.
Q: What baking tips should I keep in mind for flawless results?
A: Bake the squares at a moderate temperature to prevent cracking or curdling in the filling. Keep an eye on the edges; they should be set while the center is just slightly jiggly. After baking, let them cool gradually to avoid temperature shock, then refrigerate until ready to slice – this helps achieve clean, Instagram-worthy squares.
Q: Can I substitute regular lime juice if key limes aren’t available?
A: While key limes offer a unique, floral tartness that defines this dessert, fresh regular lime juice can work in a pinch. Just know that the flavor might be a touch more robust and less nuanced. For the fullest experience, seek out key limes when possible – their essence is truly the heart of these blissful squares.
Q: What’s the best way to cut and serve Key Lime Pie Squares?
A: Use a sharp knife dipped in hot water and wiped dry between cuts to create neat, clean edges without cracking the delicate filling. Serve chilled, garnished with a small dollop of whipped cream or a thin lime wheel. These squares look as good as they taste, inviting you to dive into their zesty bliss!
In Retrospect
As the tangy zest of lime mingles with the buttery crust and the creamy filling in each bite of these Key Lime Pie Squares, you hold more than just a dessert-you hold a little slice of sunny bliss. Simple to make yet bursting with vibrant flavors, this recipe invites you to savor the perfect balance of sweet and tart with effortless joy. Whether you’re sharing them at a gathering or indulging in a solo treat, these squares promise a refreshing escape to tropical delight, right from your own kitchen. So go ahead, zest up your dessert game and let every bite transport you to a mini vacation of citrusy happiness.


